
Your manager just asked you to document a process, but you’re not sure how to get started. Odds are, you’ve never done it before, or you’re looking for a better way. At first, workflow documentation can be daunting. How are you supposed to know what to include and how to best display it?
The good news is that workflow documentation doesn’t have to be time-consuming or confusing. The best methods usually involve clean visuals, think flowcharts, and a collaborative environment.
Why you should care about workflow documentation
In a nutshell, process documentation is a detailed record of how tasks or processes are completed within your team. This process mapping includes step-by-step instructions, the tools required, the roles of team members, and any relevant decision-making. It should serve as a go-to guide for your team, which is why proper documentation is crucial to implement.
Effective workflow documentation plays a critical role in an organization. A clear document workflow process can optimize onboarding new employees, streamline consistency across projects, align team expectations, and clear up any bottlenecks for teams.
The TechSmith research team found that $1,200 of productivity could be unlocked each year for every affected employee if businesses used visual communications effectively. That’s like having seven extra full-time employees a year for a business of 500 workers.
This tells us that great documentation can fall short if it is not formatted well. Text-heavy documents are hard to digest for workers, which impedes productivity and understanding. That’s why visual documentation is key. Instead of telling someone what to do through writing, it shows them, making workflows easier to understand, adopt, and remember long term.

Common mistakes in workflow process documentation
Let’s discover some common inefficiencies to avoid when you create process documentation.
Writing walls of text with no visuals
Our first inclination when creating workflow process documentation is usually to just write it all down. As natural as that may sound, it is counterproductive. Lengthy, text-heavy documentation often overwhelms readers and makes it difficult for them to follow. This is especially true for visual learners.
For example, imagine if this article had no headings, no paragraphs, and no images, and we were just piling information on you without any additional guidance. You probably wouldn’t still be here reading. Formatting and visuals add valuable context and appeal that keep people reading.
The good news is that visuals, like annotated screenshots and short video clips, are much easier to implement than most people realize.
A powerful yet simple screen capture tool like Snagit is the perfect solution to capture screenshots and add annotations like text, arrows, and callouts.
Screen recorders like Camtasia capture videos of your screen, which you can then edit to fit your process document. Similar to Snagit, you can add context with annotations.
You can use either or both types of visuals, depending on the type of process you are documenting.

Not updating documentation when processes change
We’ve all been there: you’re digging through a knowledge base and come across what you think is the documentation you need… from a decade ago. Now, you’re left guessing on every other step because the process has changed.
That disconnect slows down people and affects their trust in future documentation. Why should they spend time looking for documentation when they expect it to be outdated anyway?
To avoid any further damage, build a lightweight update system. Simple tactics like versioning documents, maintaining a basic change log, or quickly re-recording a video walkthrough can keep documentation accurate and improved over time.
Additionally, use metrics to gauge how often people use a document during its lifecycle. Set permissions and enable notifications to stay on top of who is using your new workflow documentation and when.
Regularly refreshing your business processes makes it more likely to be helpful and used by your team in real time.
Making assumptions about what others already know
Documentation often skips over context or content “obvious” to the writer. The problem is that steps that are obvious to the writer aren’t always evident to a new hire.
For example, the writer adds the step to “Log in to the portal” without linking to the portal or explaining how to access it. This leaves the reader with little to complete the step and may eat up their time finding the portal.
To avoid this confusion, writers should sit down with their team and hear the process out from their perspective. This will give the writer insight into how much information to include to create helpful content that is neither too vague nor oversimplified.
One must-have tool that ensures no steps are left behind is Snagit. Step capture automatically generates step-by-step guides by capturing screenshots every time you click through a process. The screenshots are compiled into an editable document in which you can add short descriptions for each image and add annotations to them.

Best formats for documenting workflows
You can choose to create documentation in various formats, though there are common standards for certain processes.
Step-by-step screenshot guides
This format is common for short, repetitive tasks. Good uses for this format include updating a record, submitting a request, changing a setting, and other simple actions.
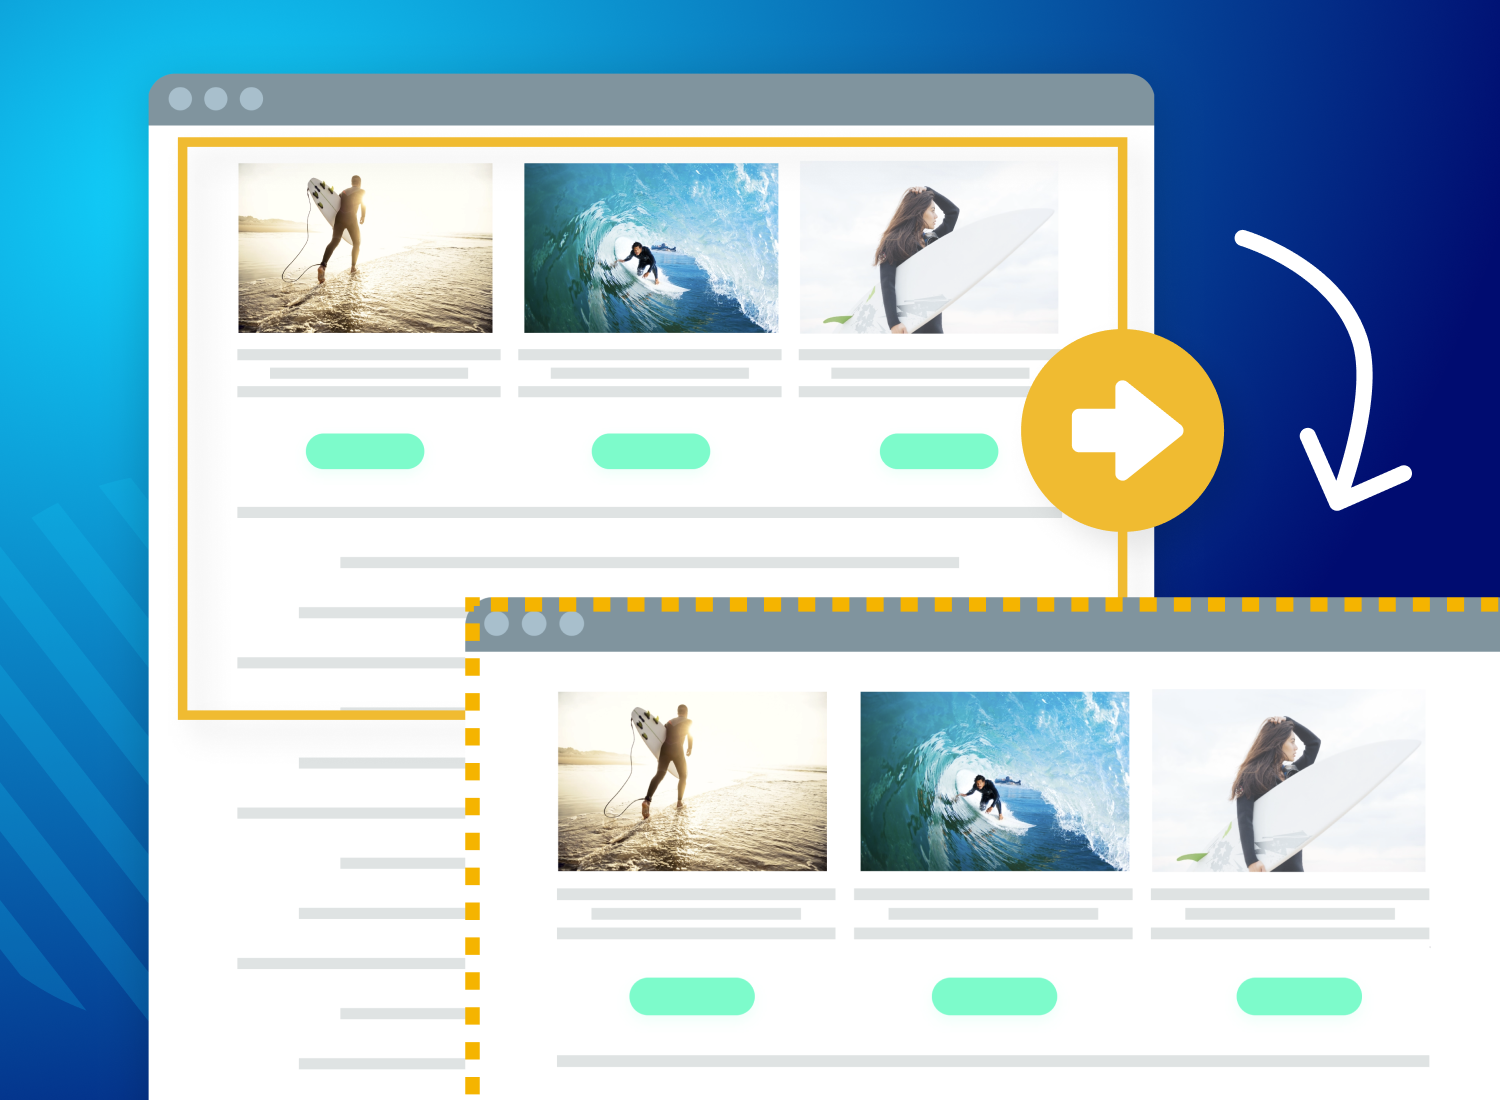
Snagit’s screenshot tool is the fastest, most convenient way to create this type of documentation. You can capture different areas of your screen, including dropdown menus, and even take full-length webpage screenshots. That way, you can still capture every step in one screenshot, even if readers need to scroll.
We also recommend you add annotations to provide context and callouts to direct the attention where it matters. Additionally, use the step tool to number each step.
For an all-in-one process, the step capture tool comes in handy. This feature captures each click as you go through the steps and generates an editable guide for you. This feature is the most time-effective, and we recommend it for simple guides that don’t need heavy editing.
Record your screen with Snagit
Snagit makes it easy to share quick updates and how-to’s by capturing exactly what’s happening on your screen.
Get Snagit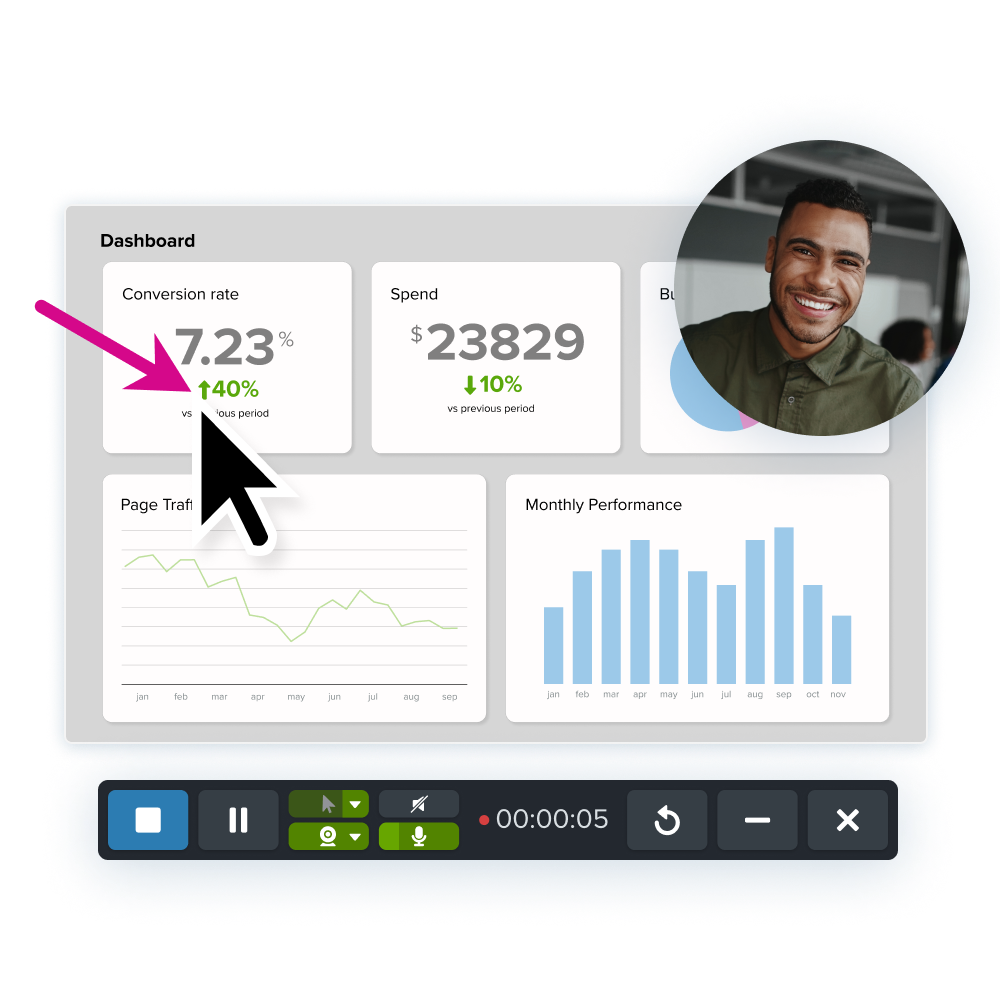
Walkthrough videos or recordings
Videos are the perfect solution for complex walkthroughs that benefit from polished, intentional content. This is commonly used for introducing new software to employees, project management, or demonstrating a multi-step process that images just aren’t enough for.
With video, you can use voiceovers to explain a process while demonstrating it visually, add cursor effects like click animations to add clarity, and use transitions to demonstrate breaks in the process.
Video is a must-have tool for complex business processes. An all-in-one screen recorder and video editor like Camtasia is ideal for a walkthrough, especially when steps of the process need to be updated over time.
Remember the common mistake of not updating content? Camtasia makes it easy to quickly re-record steps while keeping the others intact. There is no need to re-record the process every time a small detail changes!
We understand that video can be daunting–and that’s why Camtasia Pro is the perfect solution. You can record the process with or without your camera. And, if voiceovers are out of the question, you can write or transcribe a script for your video and generate a natural AI voice.
Instant lifelike AI voice over
No voice over? No problem. Audiate generates incredibly life-like voice over right from your script!
Get Audiate
Text-based documentation with visuals embedded
Text does have a valuable place in documentation. Text-based documentation is great for hybrid teams that rely on shared drives, portals, and PDFs.
However, it is important to include annotated screenshots or short-form videos to support multiple learning styles. That way, your process documentation will cater to as many people as possible, maximizing its utility.
To ensure an effective workflow, we recommend that the stakeholders agree on consistent and scannable formatting structures. Use headings and paragraphs to indicate breaks in content and bullet points for quick-fire information.
Step-by-step workflows or how-to pages
This workflow documentation style is common for document management systems like Confluence, Notion, or Microsoft SharePoint. They’re ideal for keeping repeatable processes in one place. These guides are usually simpler than video walkthroughs and more complex than screenshot guides.
However, visuals are an important part of these workflows. Text can be confusing, especially when processes involve interfaces that are easier to show than describe. Clear screenshots, annotated images, and short videos eliminate confusion and make it easier for everyone to follow along.
Capture tools like Snagit are a great solution to quickly capture screen content. Screen recorders like Camtasia make it simple to create short videos. Both of these visuals can be embedded into how-to pages, which makes documentation more engaging.
Tips to make workflow documentation easier to follow
Now that you’ve chosen the type of documentation, it’s time to learn about best practices.
Consult your team before you create process documentation. before you create process documentation. Use teamwork to create a workflow diagram take note of process improvement ideas. Talk to your stakeholders and understand their knowledge gaps, and implement an approval process.
Be logical and solution-oriented. Process documentation has one goal: to explain a process as effectively as possible. Assume that your team wants to spend as little time as possible on this task.
Use visuals anytime you need additional context. Your team members are more likely to understand the process when you give them a chance to see what they need to do. Whether images or videos, visuals will always be a positive addition to your process documentation.
Keep formatting consistent throughout your team and organization. By staying consistent, team members will easily understand how to navigate a document, no matter the topic, making it easier for them to complete their tasks.
An example of a workflow template with TechSmith
Let’s look at a real-world example to show how easy it is to document a workflow using TechSmith tools like Snagit and Camtasia. In this scenario, we will learn how to submit a purchase request through the internal system.
Step 1: Capture and annotate each step with Snagit
Start by selecting the step capture tool from the Snagit capture drop-down options. Then, complete the process as normal. Snagit compiles each step into an editable template.
Next, add a title and relevant descriptions under each image capture.
If needed, drag-and-drop annotations like arrows and callouts on the images to add even more context.
This process creates a static visual guide that makes the process easy to understand at a glance.
Annotate and edit screenshots with Snagit
Professional mark-up tools and powerful features make it easy to create helpful images.
Try it Free
Step 2: Record a walkthrough video with Camtasia Pro
Open Camtasia and record your screen as you perform the task. You can choose to record with your microphone and camera as well to add narration along the way. You can also add a voiceover later to make editing easier.
Next, use cursor effects to improve comprehension. Make your cursor bigger, add a highlight, and include click animations to make each step impossible to miss.
Then, add text, callouts, and other annotations to direct the viewer’s attention to important details they may miss otherwise.
If needed, edit your video further with transitions, filters, a title card, and more to make it more polished.
A short video adds depth to your documentation.
The easiest way to edit videos
Stop wasting time and discover how Camtasia Editor makes creating incredible videos easier than ever.
Free Download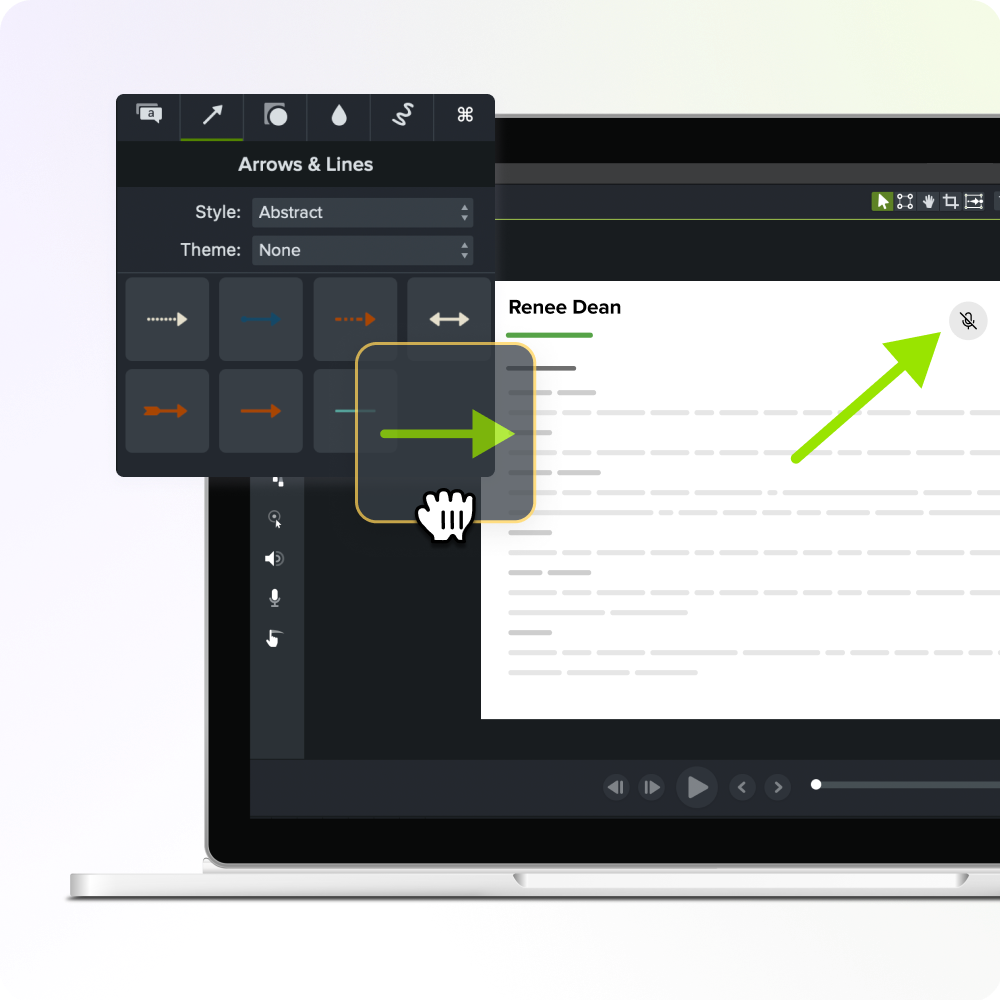
Step 3: Embed the guide and video into your documentation
Upload your guide and video where you keep documented processes, like Confluence, Notion, or Google Docs. Write a brief introduction at the top of the page that explains what this process is and who may use it. Optionally, link to related workflows or common questions at the bottom.

Bring clarity to every process with visual documentation
Visuals, like screenshots, screen recordings, or walkthrough videos, help teams create clear, scalable documentation.
Snagit and Camtasia are built with this purpose in mind. They make documenting everything from a single workflow to an entire training library simple and professional.
Ready to improve your team’s documentation? Explore all TechSmith products and start creating content that your team actually wants to use.
Share